I stared at the MetaMask installation page for ten minutes.
“Seed phrase.” “Private key.” “Gas fees.” “Network selection.” None of it made sense. I felt like I needed a computer science degree just to set up a wallet.
Then I realized everyone feels this way at first. The terminology is intimidating, but the actual process? Pretty straightforward once someone explains it in plain English.
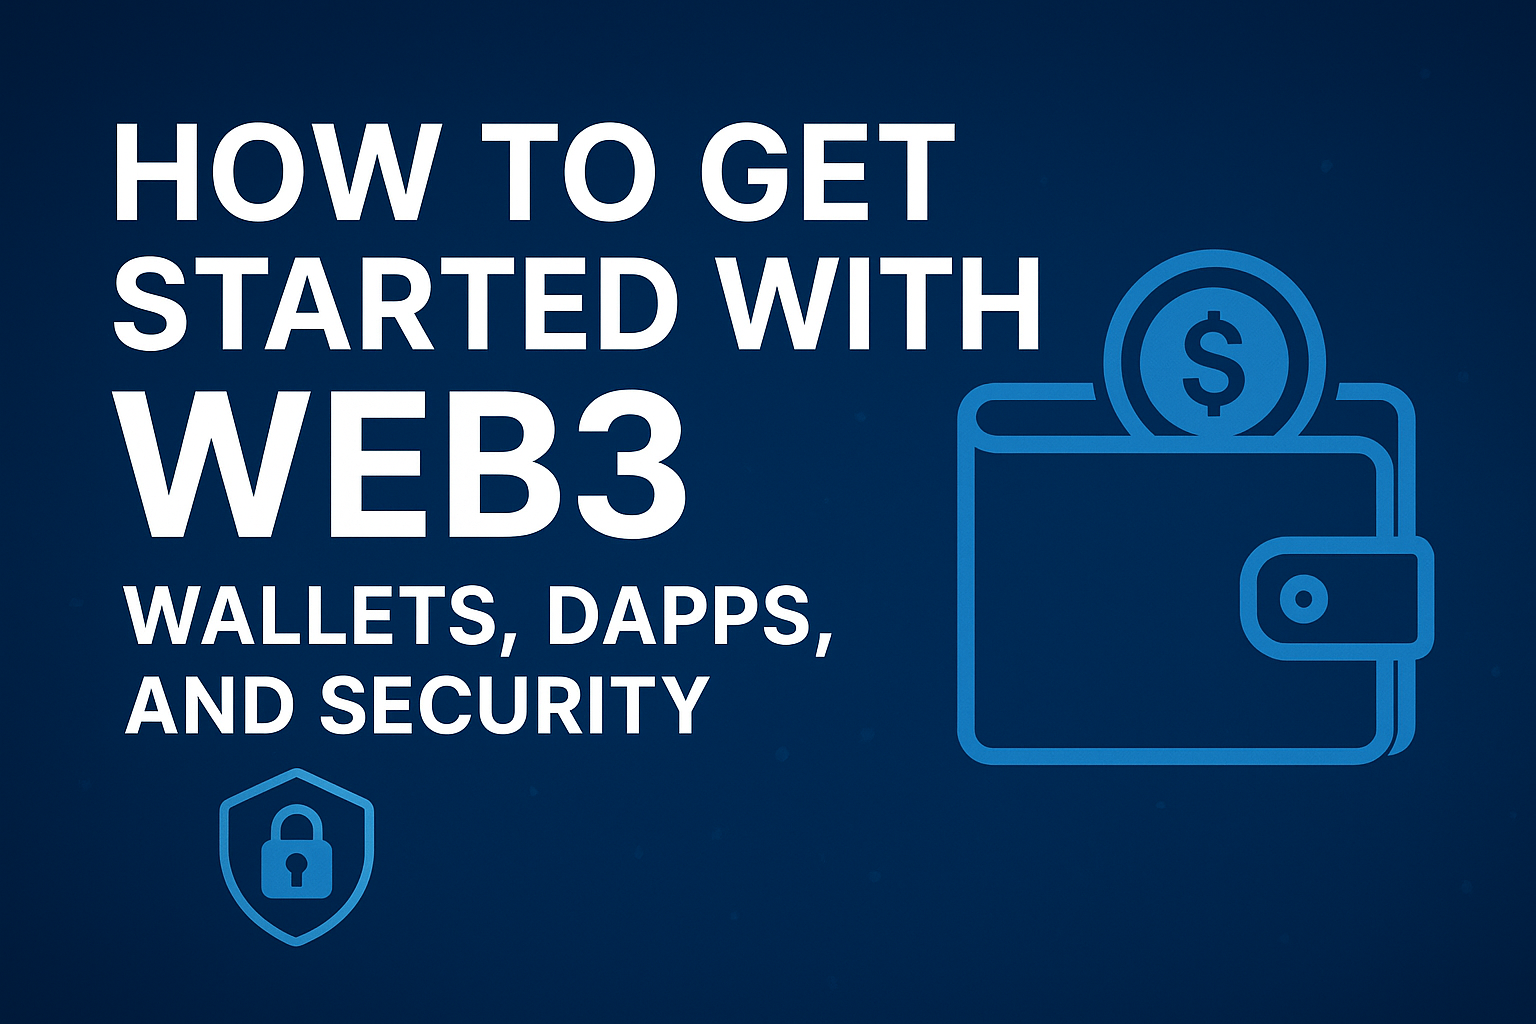
If you want to explore Web3 but feel overwhelmed by wallets, DApps, and security warnings, this guide walks you through everything step-by-step. No jargon, no assumptions, just the practical stuff you need to get started safely.
What You’re Actually Doing Here
Before we dive in, let’s be clear about what “getting started with Web3” means:
You’re setting up a wallet (your digital identity and keychain), connecting it to DApps (decentralized applications), and learning security basics (so you don’t lose everything).
Think of it like:
- Wallet = Your passport and bank account combined
- DApps = Websites that recognize your passport
- Security = Not losing your passport or getting it stolen
Time investment: About 30 minutes to set up. Another hour to understand what you’re doing.
Money needed: Start with $20-50 of Ethereum. Seriously, start small. You WILL make mistakes.
Ready? Let’s do this.
Step 1: Choose and Set Up Your Wallet
A Web3 wallet is NOT like a traditional bank account. It’s more like a keychain that proves you own certain digital assets. The wallet doesn’t “hold” your crypto—the blockchain does. Your wallet just holds the keys to access it.
Which Wallet Should You Use?
For complete beginners:
MetaMask – Browser extension (Chrome, Firefox, Brave) and mobile app. This is where 90% of people start. It’s well-documented, widely supported, and integrates with almost every DApp.
Coinbase Wallet – Mobile-focused, cleaner interface than MetaMask. Good if you already use Coinbase exchange. Note: This is separate from your Coinbase exchange account.
For later (once you’re comfortable):
Ledger or Trezor – Hardware wallets (physical devices) for serious security. Buy only from official manufacturers, never from Amazon or eBay (scam risk). Use these when you have assets worth protecting.
Trust Wallet – Multi-chain support, good for exploring beyond Ethereum.
Rainbow Wallet – Beautiful iOS wallet focused on simplicity and NFTs.
My recommendation: Start with MetaMask. Once you’re comfortable and have more than $500 in crypto, get a Ledger hardware wallet for long-term storage.
Installing MetaMask (Step-by-Step)
I’ll walk you through MetaMask since it’s the most beginner-friendly and widely supported.
1. Go to metamask.io (NOT a Google search result—scam sites exist)
Type the URL directly into your browser: metamask.io. Bookmark it immediately. Never click random links claiming to be MetaMask.
2. Click “Download”
You’ll see options for Chrome, Firefox, Brave, Edge, or mobile. Pick your browser.
3. Add the extension
Your browser’s extension store opens. Click “Add to Chrome” (or your browser). You’ll see a fox icon appear in your browser toolbar.
4. Click “Get Started”
A welcome screen appears. Two options: “Import wallet” (if you already have one) or “Create a Wallet” (that’s you).
5. Agree to terms
Read them if you want (nobody does). Click agree.
6. Create a password
This password ONLY protects MetaMask on THIS device. It’s not your master password. Pick something strong but know that this isn’t the critical security part—the seed phrase (next step) is.
7. The seed phrase screen (PAY ATTENTION HERE)
MetaMask shows you 12 random words. This is your seed phrase (also called recovery phrase or mnemonic).
This is THE most important part of Web3 security. More on this in the next section.
8. Write down your seed phrase
Click to reveal the words. Write them down ON PAPER in order. Do NOT:
- Screenshot it
- Save it in Notes app
- Email it to yourself
- Store it in cloud storage
- Tell anyone what it is
Yes, paper. Old school. Physical. In your handwriting.
9. Confirm your seed phrase
MetaMask asks you to select the words in order to prove you wrote them down. This is annoying but necessary.
10. You’re in!
MetaMask opens showing your wallet. You’ll see:
- Your wallet address (starts with 0x…)
- Your balance (currently $0)
- Buttons to buy, send, or swap crypto
Congratulations. You have a Web3 wallet.
Step 2: Understanding Seed Phrases (The Most Important Section)
Your seed phrase is your wallet. Not your password. Not your email. The 12 words ARE your wallet.
Why Seed Phrases Exist
Traditional apps: Forgot password? Click “reset password.” Company verifies your identity, resets it, you’re back in.
Web3: Nobody owns your wallet. There’s no company to reset your password. If you lose your seed phrase, your crypto is gone forever. Not “call support” gone. Actually, permanently, irretrievably gone.
The seed phrase is a mathematical key that generates your wallet address and private keys. Anyone with those 12 words has COMPLETE access to your wallet.
Seed Phrase vs Private Key
Seed phrase (12-24 words): Master key. Generates all your wallet addresses and private keys. One seed phrase can create unlimited wallet addresses.
Private key (long string of characters): Controls one specific wallet address. Your seed phrase generates your private keys.
In practice: You only need to protect your seed phrase. It’s the master key to everything.
How to Store Your Seed Phrase Safely
Minimum security (for small amounts):
- Write it on paper
- Store it somewhere safe at home
- Don’t tell anyone
Better security (for amounts you care about):
- Write it on paper
- Make a backup copy
- Store copies in separate physical locations (home safe + parents’ house)
- Consider a fireproof safe
Best security (for significant amounts):
- Metal backup plates (survives fire/water)
- Multiple copies in multiple secure locations
- Hardware wallet (Ledger/Trezor) with seed phrase backup
- Consider splitting it using Shamir’s Secret Sharing (advanced)
NEVER:
- Store it digitally (computer, phone, cloud, password manager)
- Take a photo of it
- Email it
- Tell anyone (not even your best friend)
- Enter it into any website claiming to “verify” your wallet
- Share it with “support” (no legitimate service ever asks)
Test Your Backup
Before sending any significant money to your wallet:
- Write down your seed phrase
- Delete MetaMask (or create a new wallet)
- Use “Import wallet” and enter your seed phrase
- Confirm you can access your wallet
This proves your backup works.
Step 3: Getting Your First Crypto (Funding Your Wallet)
Your wallet is empty. Let’s fix that.
Option 1: Buy Directly in MetaMask
Click “Buy” in MetaMask. You’ll see options like:
- Coinbase Pay
- Transak
- MoonPay
Pick one, enter your credit card or bank info, buy $20-50 of ETH (Ethereum).
Pros: Easy, one-stop process
Cons: Higher fees, requires personal info
Option 2: Buy on an Exchange, Then Transfer
Step 1: Create account on Coinbase, Kraken, or Binance
Step 2: Buy ETH there (lower fees than buying in-wallet)
Step 3: Withdraw to your MetaMask address
How to find your MetaMask address:
- Open MetaMask
- Click the account name at top (probably “Account 1”)
- Click “Copy” or click the address (starts with 0x…)
- Paste this into the withdrawal address on your exchange
First transfer warning: Send a small test amount first ($5-10). Make sure it arrives. Then send the rest. Crypto transactions are irreversible—if you send to the wrong address, it’s gone.
Network selection: Make sure you’re using Ethereum mainnet (not BSC, Polygon, or other chains). Sending ETH on the wrong network = lost funds.
Understanding Gas Fees
Every transaction on Ethereum costs a “gas fee” (also called transaction fee or network fee).
What it pays for: Compensates miners/validators for processing your transaction.
How much it costs: Varies wildly. Could be $2 or $50 depending on network congestion. Check current gas prices at Etherscan’s Gas Tracker.
When you pay it:
- Sending crypto
- Swapping tokens
- Minting NFTs
- Connecting wallets to some DApps
- ANY blockchain transaction
Important: You need ETH for gas fees. Even if you’re swapping other tokens, you pay gas in ETH. Always keep $20-30 of ETH in your wallet for fees.
Want to understand Web3 fundamentals better? Read What is Web3? first.
Step 4: Connecting to Your First DApp
Now the fun part: using your wallet to interact with decentralized applications.
What Happens When You “Connect Wallet”
When you click “Connect Wallet” on a DApp:
1. DApp requests permission
The site asks: “Can I see your wallet address?”
2. MetaMask popup appears
Shows which site is requesting access and what permissions they want.
3. You approve or reject
If you approve, the site can now:
- See your wallet address
- See your balance
- See your transaction history (it’s all public on blockchain anyway)
What connecting does NOT allow:
- They can’t take your crypto (unless you approve a transaction)
- They can’t see your seed phrase
- They can’t control your wallet
You must manually approve each transaction. Connecting just shows them your address.
Try Your First DApp: Uniswap (Token Swap)
Let’s do something real: swap ETH for another token.
1. Go to Uniswap
Search for “Uniswap app” and look for the official site (app.uniswap.org). Scam sites exist with similar URLs, so bookmark the real one once you find it.
2. Click “Connect Wallet”
Top right corner. A popup lists wallet options.
3. Select MetaMask
MetaMask opens asking permission. Click “Next” then “Connect.”
4. You’re connected!
Uniswap now shows your wallet address (abbreviated) in the top right.
5. Try a small swap
- Select token to swap FROM (ETH)
- Select token to swap TO (try USDC—a stablecoin)
- Enter amount (start with $10 worth)
- Click “Swap”
6. MetaMask popup appears
Shows:
- What you’re swapping (ETH → USDC)
- Exchange rate
- Gas fee
- Total cost
7. Confirm in MetaMask
If everything looks right, click “Confirm.” The transaction processes (takes 15 seconds to 2 minutes).
8. Check your wallet
You now have USDC instead of some ETH. Congratulations—you just used a decentralized exchange!
Other Beginner-Friendly DApps to Try
OpenSea (NFT marketplace):
- Browse NFTs (many are free to view)
- Try buying a cheap NFT ($5-20)
- Learn how digital ownership works
ENS (Ethereum Name Service):
- Buy a .eth domain name
- Replace your 0x… address with yourname.eth
- Makes receiving crypto easier
Faucets (free testnet tokens):
- Get fake ETH on test networks
- Practice transactions without real money
- Search for “Sepolia faucet” or “Goerli faucet” to find free testnet ETH
Want to understand decentralized finance? Check About DeFi.
Step 5: Web3 Security (Protect Yourself)
Web3 is powerful but dangerous. No customer support will save you if you mess up. Follow these rules:
The Golden Rules
1. Never share your seed phrase. Ever. For any reason.
Not with:
- “Support staff” (scammers impersonating support)
- Websites claiming to “verify” your wallet
- Friends who want to “help”
- Anyone, anywhere, ever
Legitimate services NEVER ask for seed phrases.
2. Double-Check URLs
Scammers create fake versions of popular sites:
- Real: app.uniswap.org
- Fake: app-uniswap.org, uniswap-app.org, unisvvap.org
Solution: Bookmark real sites. Only use bookmarks.
3. Understand Transaction Approvals
When you connect to DApps, they might ask to “approve” spending your tokens.
Two types of approvals:
Limited approval: “Can spend up to 100 USDC”
This is safer. Once they spend 100, they need approval again.
Unlimited approval: “Can spend unlimited USDC forever”
Convenient but risky. Malicious contracts could drain your wallet.
How to protect yourself:
- Use sites like Revoke.cash to see and revoke old approvals
- Manually set spending limits when possible
- Only approve trusted, well-known DApps
4. Use Multiple Wallets (Hot and Cold)
Hot wallet: Connected to DApps, daily use, small amounts
Cold wallet: Never connected, long-term storage, large amounts
Strategy:
- MetaMask with $100-500 = hot wallet (daily use)
- Ledger hardware wallet with savings = cold wallet (rarely touched)
Transfer profits from hot to cold regularly.
5. Be Paranoid About Discord/Twitter DMs
If someone DMs you first, it’s a scam. No exceptions.
Common scams:
- “You won an NFT! Click here to claim”
- “Your wallet has been flagged, verify here”
- “Support team here, what’s your seed phrase?”
- “Exclusive mint opportunity, connect wallet”
Real support never DMs first. Always go to official websites/channels.
6. Start Small and Test Everything
First transaction: Send $5, make sure it works
First swap: Trade $10 worth, confirm you understand
First NFT mint: Buy a $5 NFT, learn the process
Scale up only after you’re comfortable.
Common Mistakes (And How to Avoid Them)
“Transaction Failed” Error
Cause: Usually insufficient gas fees or network congestion.
Fix: Increase gas limit in MetaMask advanced settings, or wait for lower congestion. Check Etherscan’s Gas Tracker to see current network conditions.
“Insufficient Funds for Gas”
Cause: You have tokens but no ETH for gas.
Fix: Always keep $20-30 ETH for fees.
Wrong Network Selected
Cause: Sent tokens on Binance Smart Chain but MetaMask is on Ethereum.
Fix: Click network dropdown in MetaMask, select correct network. (But if you already sent to wrong network, funds might be stuck—requires technical recovery).
Wallet Won’t Connect
Cause: Browser extension issues or site compatibility.
Fix:
- Refresh page
- Disconnect and reconnect
- Try different browser
- Clear cache
Clicked Suspicious Link
If you think you’ve been phished:
- Stop immediately
- Create new wallet with new seed phrase
- Transfer assets from compromised wallet to new one
- Never use compromised wallet again
What to Do Next
You now have:
- A Web3 wallet set up
- Seed phrase safely stored
- Basic understanding of DApps
- Security fundamentals
Next steps:
Practice safely:
- Use testnets (free fake ETH) to practice
- Try different DApps with small amounts
- Join Web3 communities on Reddit or Discord servers
- Read official documentation at Ethereum.org
Upgrade security:
- Get hardware wallet from official manufacturers (search for Ledger or Trezor) when you have $500+ in crypto
- Review and revoke old token approvals monthly at Revoke.cash
- Set up multiple wallets (hot/cold strategy)
Final Thoughts
Web3 feels intimidating at first. Seed phrases, gas fees, smart contracts—it’s a lot.
But here’s the thing: everyone feels confused initially. That “I have no idea what I’m doing” feeling? Totally normal. Even experienced crypto people started exactly where you are now.
The difference between people who succeed in Web3 and those who don’t isn’t intelligence or technical skill. It’s willingness to start small, make mistakes with amounts that don’t matter, and learn from them.
Start with $20. Make that mistake when it costs you $2 in gas fees, not $200.
Connect to a DApp. Swap $10 of tokens. Mint a cheap NFT. Break things. Figure them out. That’s how you learn.
And remember: if something feels sketchy, it probably is. Trust your instincts. There’s no customer support to save you, so being paranoid is a feature, not a bug.
Got questions or ran into issues? Drop a comment below. I’m figuring this out alongside you and happy to help troubleshoot.
Now go explore. The decentralized internet is waiting.