This comprehensive guide ‘Flutter setup guide for beginners‘, will walk you through the entire process of installing the Flutter SDK, configuring your development environment, and creating your very first cross-platform mobile application. Estimated time: 30-45 minutes for complete setup.
By the end, you’ll have a fully functional Flutter development setup and a running starter app.
Prerequisites
Before starting, ensure you have:
- At least 2.5 GB of free disk space for Flutter SDK and tools
- Administrator access on your computer
- Stable internet connection for downloads
- macOS required for iOS development (Android works on all platforms)
Installing Flutter and Required Tools
The first crucial step is to get the Flutter SDK and necessary tools in place for your operating system.
Step 1: Download and Install the Flutter SDK
- Visit the official Flutter website and download the SDK archive file for your specific operating system (Windows, macOS, or Linux).
- Extract the downloaded file to a stable, easily accessible location:
- Windows Example:
C:\development\flutter - macOS/Linux Example:
$HOME/development/flutter
- Windows Example:
Important: Avoid installing it in a directory that requires elevated permissions like C:\Program Files\ or contains spaces in the path.
Step 2: Set Environment Variables (Update Your PATH)
You must add the flutter/bin directory to your system’s PATH environment variable. This allows you to run Flutter commands from any terminal window.
Windows:
- Search for “Environment Variables” in the Start menu
- Click “Edit the system environment variables”
- Click “Environment Variables” button
- Under “User variables”, find and select “Path”, then click “Edit”
- Click “New” and add:
C:\development\flutter\bin(adjust path as needed) - Click “OK” on all dialogs
macOS/Linux:
Add this line to your shell configuration file (~/.bashrc, ~/.zshrc, etc.):
export PATH="$PATH:$HOME/development/flutter/bin"
Then run: source ~/.bashrc (or restart your terminal)
Step 3: Verify Installation
Open a new terminal or command prompt window and run:
flutter --version
You should see Flutter version information displayed.

Step 4: Install a Powerful Integrated Development Environment (IDE)
Flutter development is significantly easier with an IDE that supports Dart and Flutter extensions.
| IDE | Key Features | Recommended For | Download Time |
|---|---|---|---|
| VS Code | Lightweight, fast, excellent for quick development and testing. | Beginners and users who prefer a minimal editor. | ~5 minutes |
| Android Studio | Official Google IDE, more robust tools for debugging and native Android integration. | Serious mobile developers and those needing deep platform access. | ~15 minutes |
| IntelliJ IDEA | Powerful features, good for developers familiar with JetBrains tools. | Experienced developers who use other JetBrains products. | ~10 minutes |
Installation steps:
- Download and install your chosen IDE
- Open the IDE’s marketplace/plugins section
- Search for and install the official Flutter and Dart plugins/extensions
- Restart the IDE after installation
Step 5: Install Platform Tools and Run flutter doctor
To build and run apps, you need platform-specific tools for Android and iOS development.
| Platform | Requirement | Installation Steps | Time Required |
|---|---|---|---|
| Android | Android SDK, Platform Tools, and an Emulator | Install Android Studio, which manages the SDK and emulator setup via its SDK Manager. Accept all license agreements when prompted. | ~20 minutes |
| iOS | Xcode (macOS only) | Install Xcode from the Mac App Store. Also install the Xcode Command Line Tools: xcode-select --install | ~60 minutes |
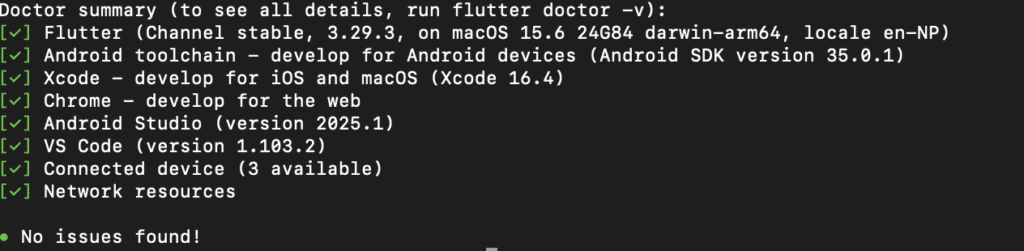
Run the diagnostic command:
flutter doctor
This command checks your environment and displays a report of the status of your Flutter installation. Follow the advice from the flutter doctor output to install any missing dependencies.
Note: Some warnings are acceptable for beginners. Red ❌ marks indicate critical issues, yellow ⚠️ marks are often optional for getting started.
Creating and Running Your First Flutter App
Once flutter doctor shows no critical issues, you’re ready to create your starter project.
Step 1: Create a New Flutter Project
Via Terminal:
- Navigate to your desired projects directory
- Run:
flutter create my_first_app
Via IDE:
- VS Code: Press
Ctrl+Shift+P(orCmd+Shift+Pon Mac) and search for “Flutter: New Project” - Android Studio: Select “Start a new Flutter Project” from the welcome screen
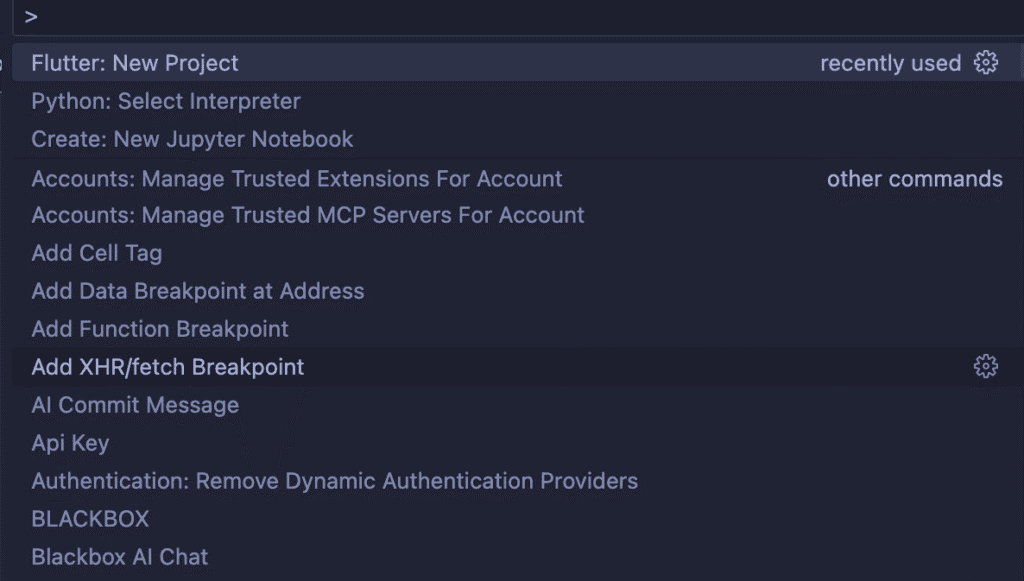
Ctrl+Shift+P (or Cmd+Shift+P on Mac) this pops on the screen on VS COde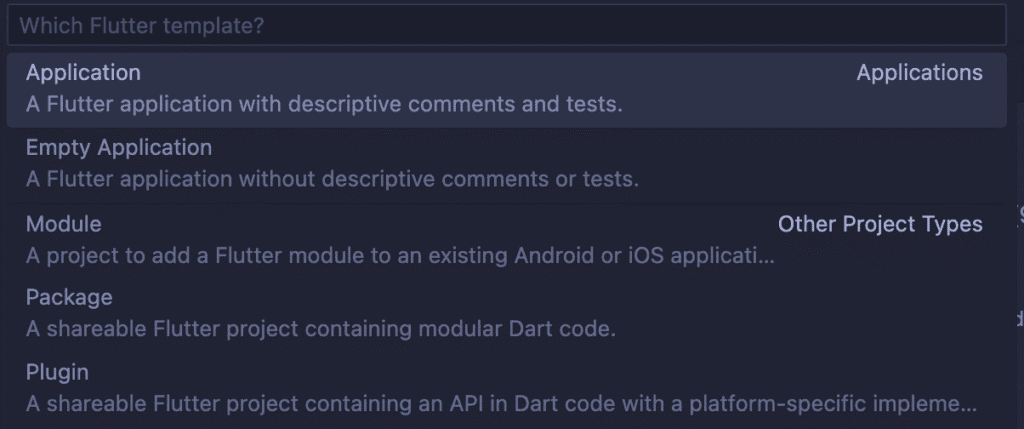
Step 2: Set Up a Device or Emulator
You need either a physical device or an emulator to run your app.
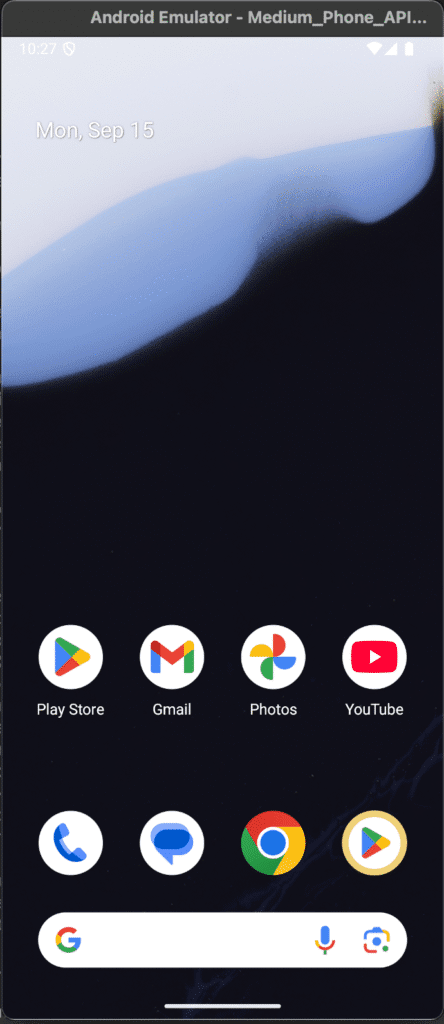
For Android Emulator:
- Open Android Studio
- Go to Tools > Device Manager (or AVD Manager)
- Click “Create Device”
- Choose a device definition (Pixel 4 recommended for beginners)
- Download a system image (API level 30+ recommended)
- Finish setup and launch the emulator
For Physical Device:
- Android: Enable Developer Options and USB Debugging in device settings
- iOS: Register device in Xcode and trust the development certificate
Step 3: Run the Default App
- Navigate into your newly created project folder:
cd my_first_app
- Ensure you have a device or emulator running (verify with
flutter devices) - Execute the run command:
flutter run
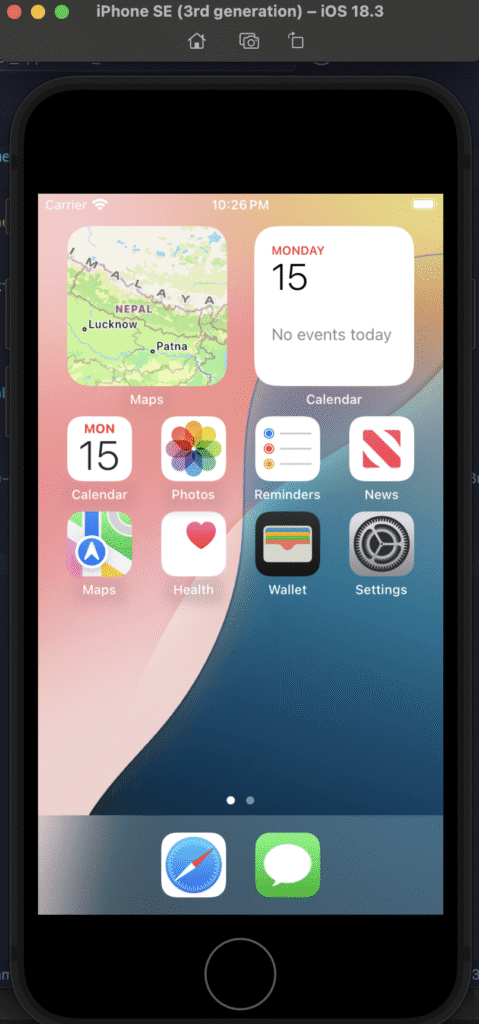
Success! You should now see the default Flutter counter app running on your selected device!
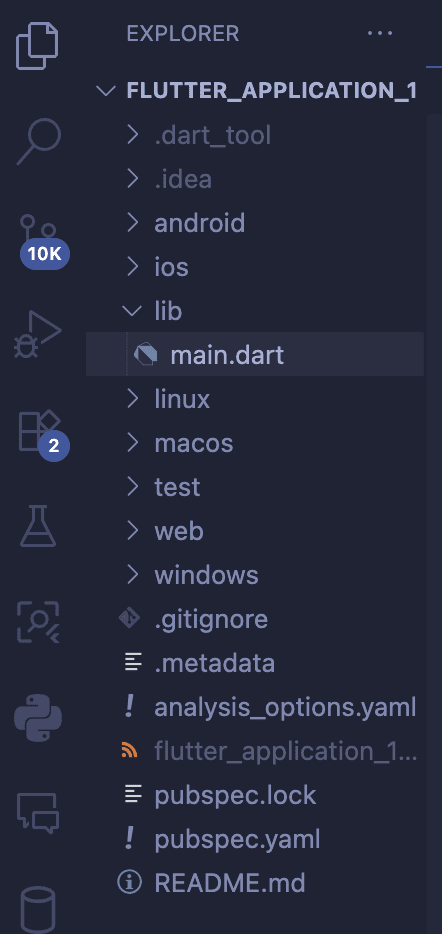
📂 Understanding the Core Flutter Project Structure
A Flutter project contains several key folders that manage your code, assets, and platform-specific configurations.
| Folder/File | Purpose | What’s Inside | Your Interaction Level |
|---|---|---|---|
lib/ | Contains all your Dart source code. This is where you spend most of your time. | main.dart (The app’s entry point), other Dart files for widgets and logic. | ⭐⭐⭐⭐⭐ High |
test/ | Contains unit and widget tests for ensuring code quality. | Test files written in Dart. | ⭐⭐⭐ Medium |
pubspec.yaml | The essential configuration file for your app. | App metadata, declaration of assets (images, fonts), and external dependencies (packages). | ⭐⭐⭐⭐ High |
android/ & ios/ | Native platform-specific code. | Configuration files and native code (Java/Kotlin, Swift/Objective-C). | ⭐ Low (rarely edited) |
web/, macos/, windows/ | Platform-specific files for desktop and web support (if enabled). | Entry files for these platforms. | ⭐ Low |
Summary and Next Steps
Congratulations! You have successfully:
- Installed the Flutter SDK and configured your environment
- Confirmed your setup using
flutter doctor - Created and executed your first running Flutter application
- Understood the fundamental structure of a Flutter project
What’s Next?
- Explore the default app code in
lib/main.dart - Learn Dart basics – the programming language Flutter uses
- Understand Flutter’s widget system – everything in Flutter is a widget
- Try modifying the counter app to make it your own
Helpful Resources
- Official Flutter Documentation
- Flutter Codelabs
- DartPad – Test Flutter code snippets online
- Flutter YouTube Channel
FAQ & Troubleshooting: Common Flutter Setup Issues
| Problem | Potential Cause(s) | Solution(s) | Prevention |
|---|---|---|---|
flutter: command not found | PATH variable is incorrect or terminal wasn’t restarted. | 1. Double-check that flutter/bin is correctly added to your system PATH<br>2. Close and reopen your terminal or IDE<br>3. Restart your computer if needed | Always restart terminal after PATH changes |
No connected devices found | No emulator or physical device is actively running/connected. | 1. Start an emulator via Android Studio’s Device Manager<br>2. For physical devices, verify USB debugging (Android) or Developer Mode (iOS) is enabled<br>3. Run flutter devices to see available devices | Keep an emulator running during development |
flutter doctorshows issues | Missing platform tools or dependencies (e.g., Android SDK, Xcode CLI). | Follow the doctor’s specific instructions:<br>1. Install Android SDK/tools via Android Studio<br>2. On macOS, install Xcode Command Line Tools: xcode-select --install<br>3. Accept all license agreements: flutter doctor --android-licenses | Run flutter doctorregularly after system updates |
| App fails to launch | Build cache or dependency resolution issue. | 1. Run flutter clean to clear the build cache<br>2. Run flutter pub get to fetch dependencies<br>3. Ensure your IDE has Flutter & Dart plugins installed and enabled<br>4. Try flutter run -v for verbose output | Keep Flutter and dependencies updated |
| Build errors on first run | Outdated dependencies or Flutter version | 1. Update Flutter: flutter upgrade<br>2. Update dependencies: flutter pub upgrade<br>3. Clear cache: flutter clean | Use stable Flutter channel for beginners |
Quick Testing Without Full Installation
Want to test Flutter code snippets quickly? Use DartPad – an online editor that supports Flutter widgets. Perfect for:
- Learning Dart syntax
- Testing small UI components
- Sharing code examples
- Following tutorials
Note: DartPad only supports basic Flutter widgets and cannot install external packages or run full applications.
If you followed Part 1 – Getting Started with Flutter, you already understand what Flutter is, why it’s useful, and its core architecture. By completing Part 2, you now have a working Flutter project and a running starter app. Next, in Part 3 – Dart Basics for Flutter Developers, we’ll dive into the Dart programming language, covering variables, data types, functions, and control flow — the essential building blocks for writing Flutter apps effectively.
For more content visit Deadloq. Thank You!!!